
![]()
We want to inform
Objective
We received a sensor (Aranet 4) from Helvar that collects the following data: temperature, humidity, CO2, and pressure. Our task was to present the data collected by the sensor to the end user.
So, we came up to build a two-part device where the microcontrollers communicate with each other and one of them also communicates with the sensor. The devices themselves are a screen that displays all the information that the sensor provides, and an indicator that informs the employee that they cannot continue working now because something is wrong.
Electronics
In the electronics parts, we used components such as the ESP32 microcontroller, a light resistor, two switch buttons, micro USB type C, a regulator, SMD LEDs, and many different resistors, capacitors, and jumpers.
We used the light resistor to control the screen brightness. It works on a simple principle just send the data to the ESP32 and the ESP32 will change the screen brightness according to the received data from the light resistors. Two switch buttons will help us download the codes to the ESP32 boot and reboot buttons. With Micro USB C, we will power our PCB, and the regulator will help us get a 3.3v current. Two different jumpers are used, one for loading the codes and the other for connecting the screen to the ESP32.
For both of the PCBs, we used almost the same components, just using different protocols. For instance, on the main PCB, the big screen uses the UART protocol to connect with the ESP32 (GPIO16 and GPIO 17 pins). For the indicators, we used an OLED screen, which uses the I2C protocol. Another added component in the indicator part is adding two SMD LEDs, to give feedback to the end users. Basically, when the ESP32 receives the data from the sensors and reads it, it will inform the indicators if the received data from the sensors is above or under the standard. Like if the temperature increase than normal you see the yellow led blinking
3D modeling and mechanical design
While designing the case for the screen we had to think how are the components fitting in, how are you supposed to dock the screen on a wall or a table and of course how it looks. We came up with this kind of solutions.
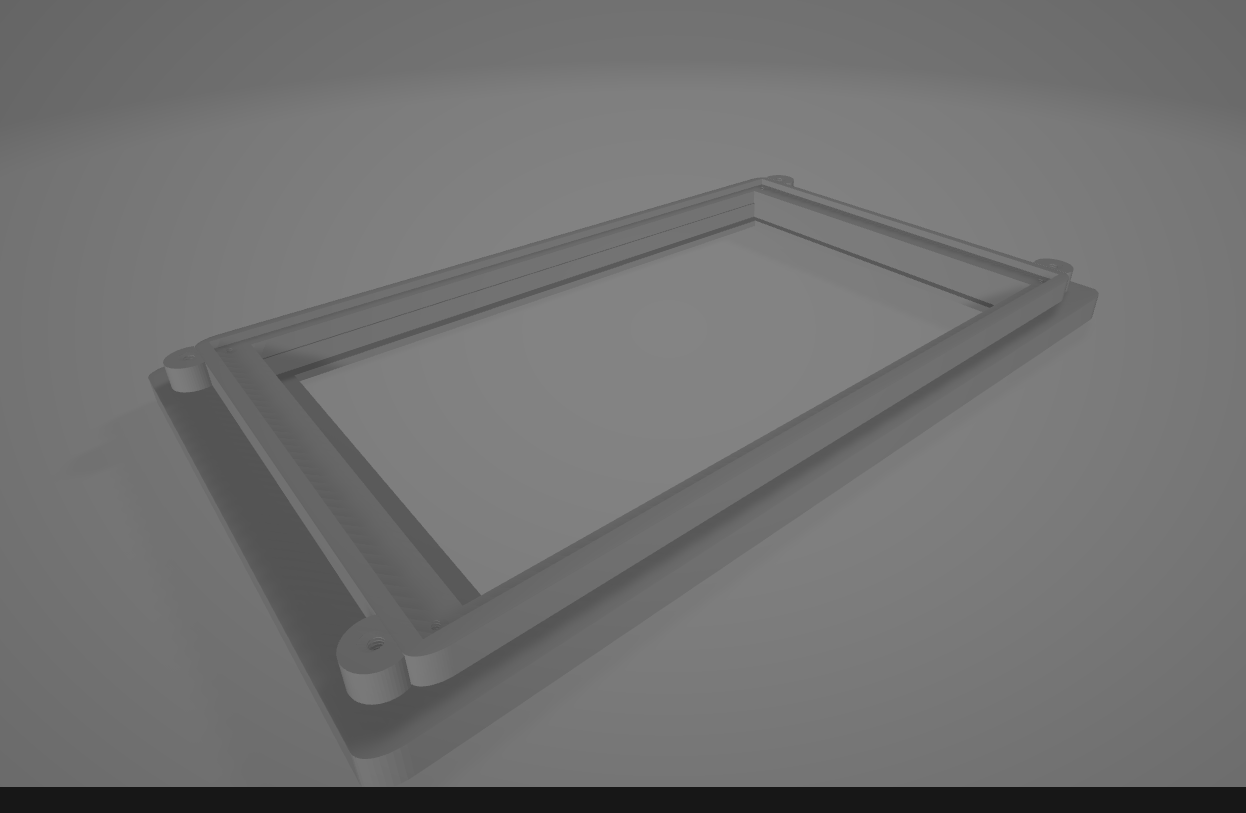
Screen case front part. There is holes for the bolts to keep screen on place, and outer holes to set back part of the case set.
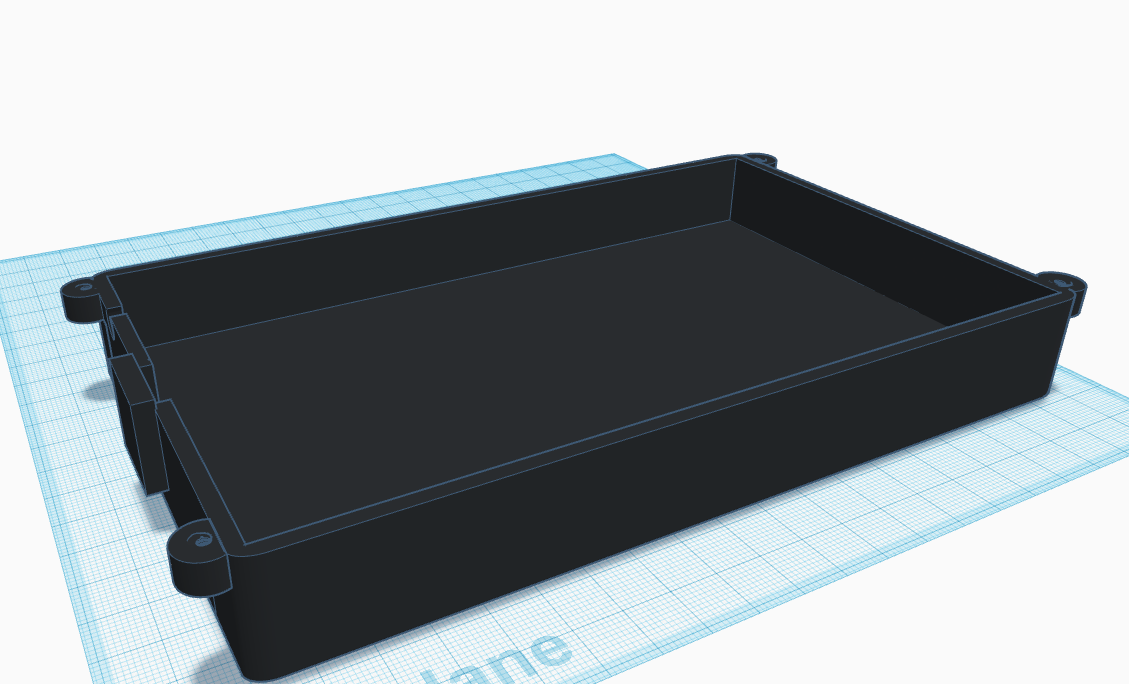
Enough room for all the components, and for the cables that come out of the sccreen on the left.
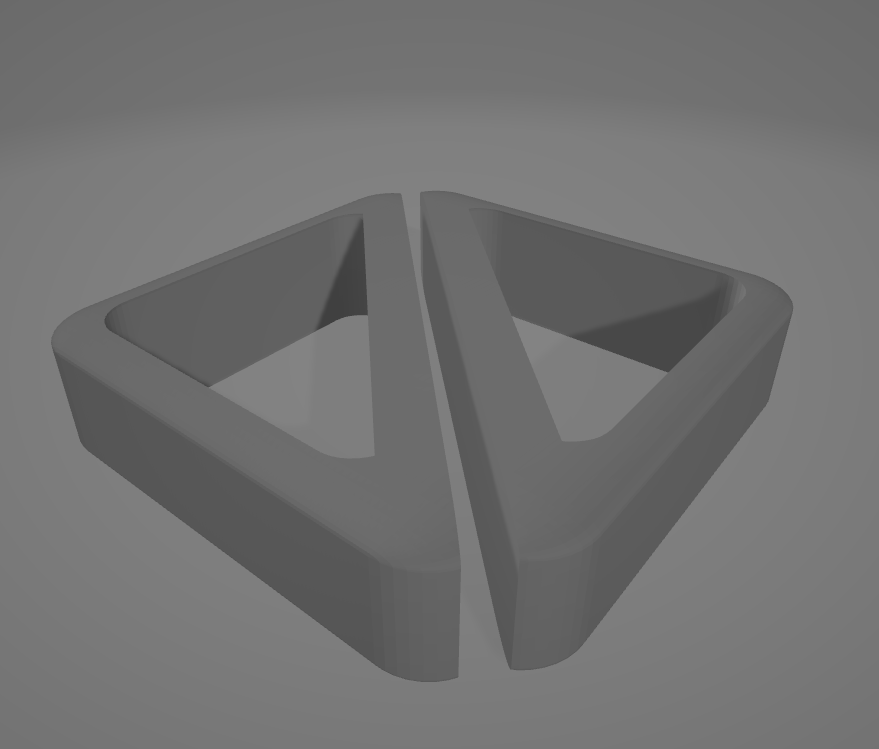
Supports, to put in place if needed, works well for mounting to walls.
Software
We used the Arduino IDE platform and the ESP32 microcontroller. Data extraction is done via BLE (Bluetooth Low Energy), with the sensor acting as the server and ESP32 as the client. After receiving and sorting the data, we used Nextion Display to visualize the data using Nextion Editor software.
Team members

- Eero Torpo (Electrical Engineering)
- Esmatollah Ehsani (Computational Engineering)
- Snehpal Singh Bhutta (Electrical Engineering)
- Zainollah Rezaei ( Computational Engineering)
Links